Import Center
Import Center Overview
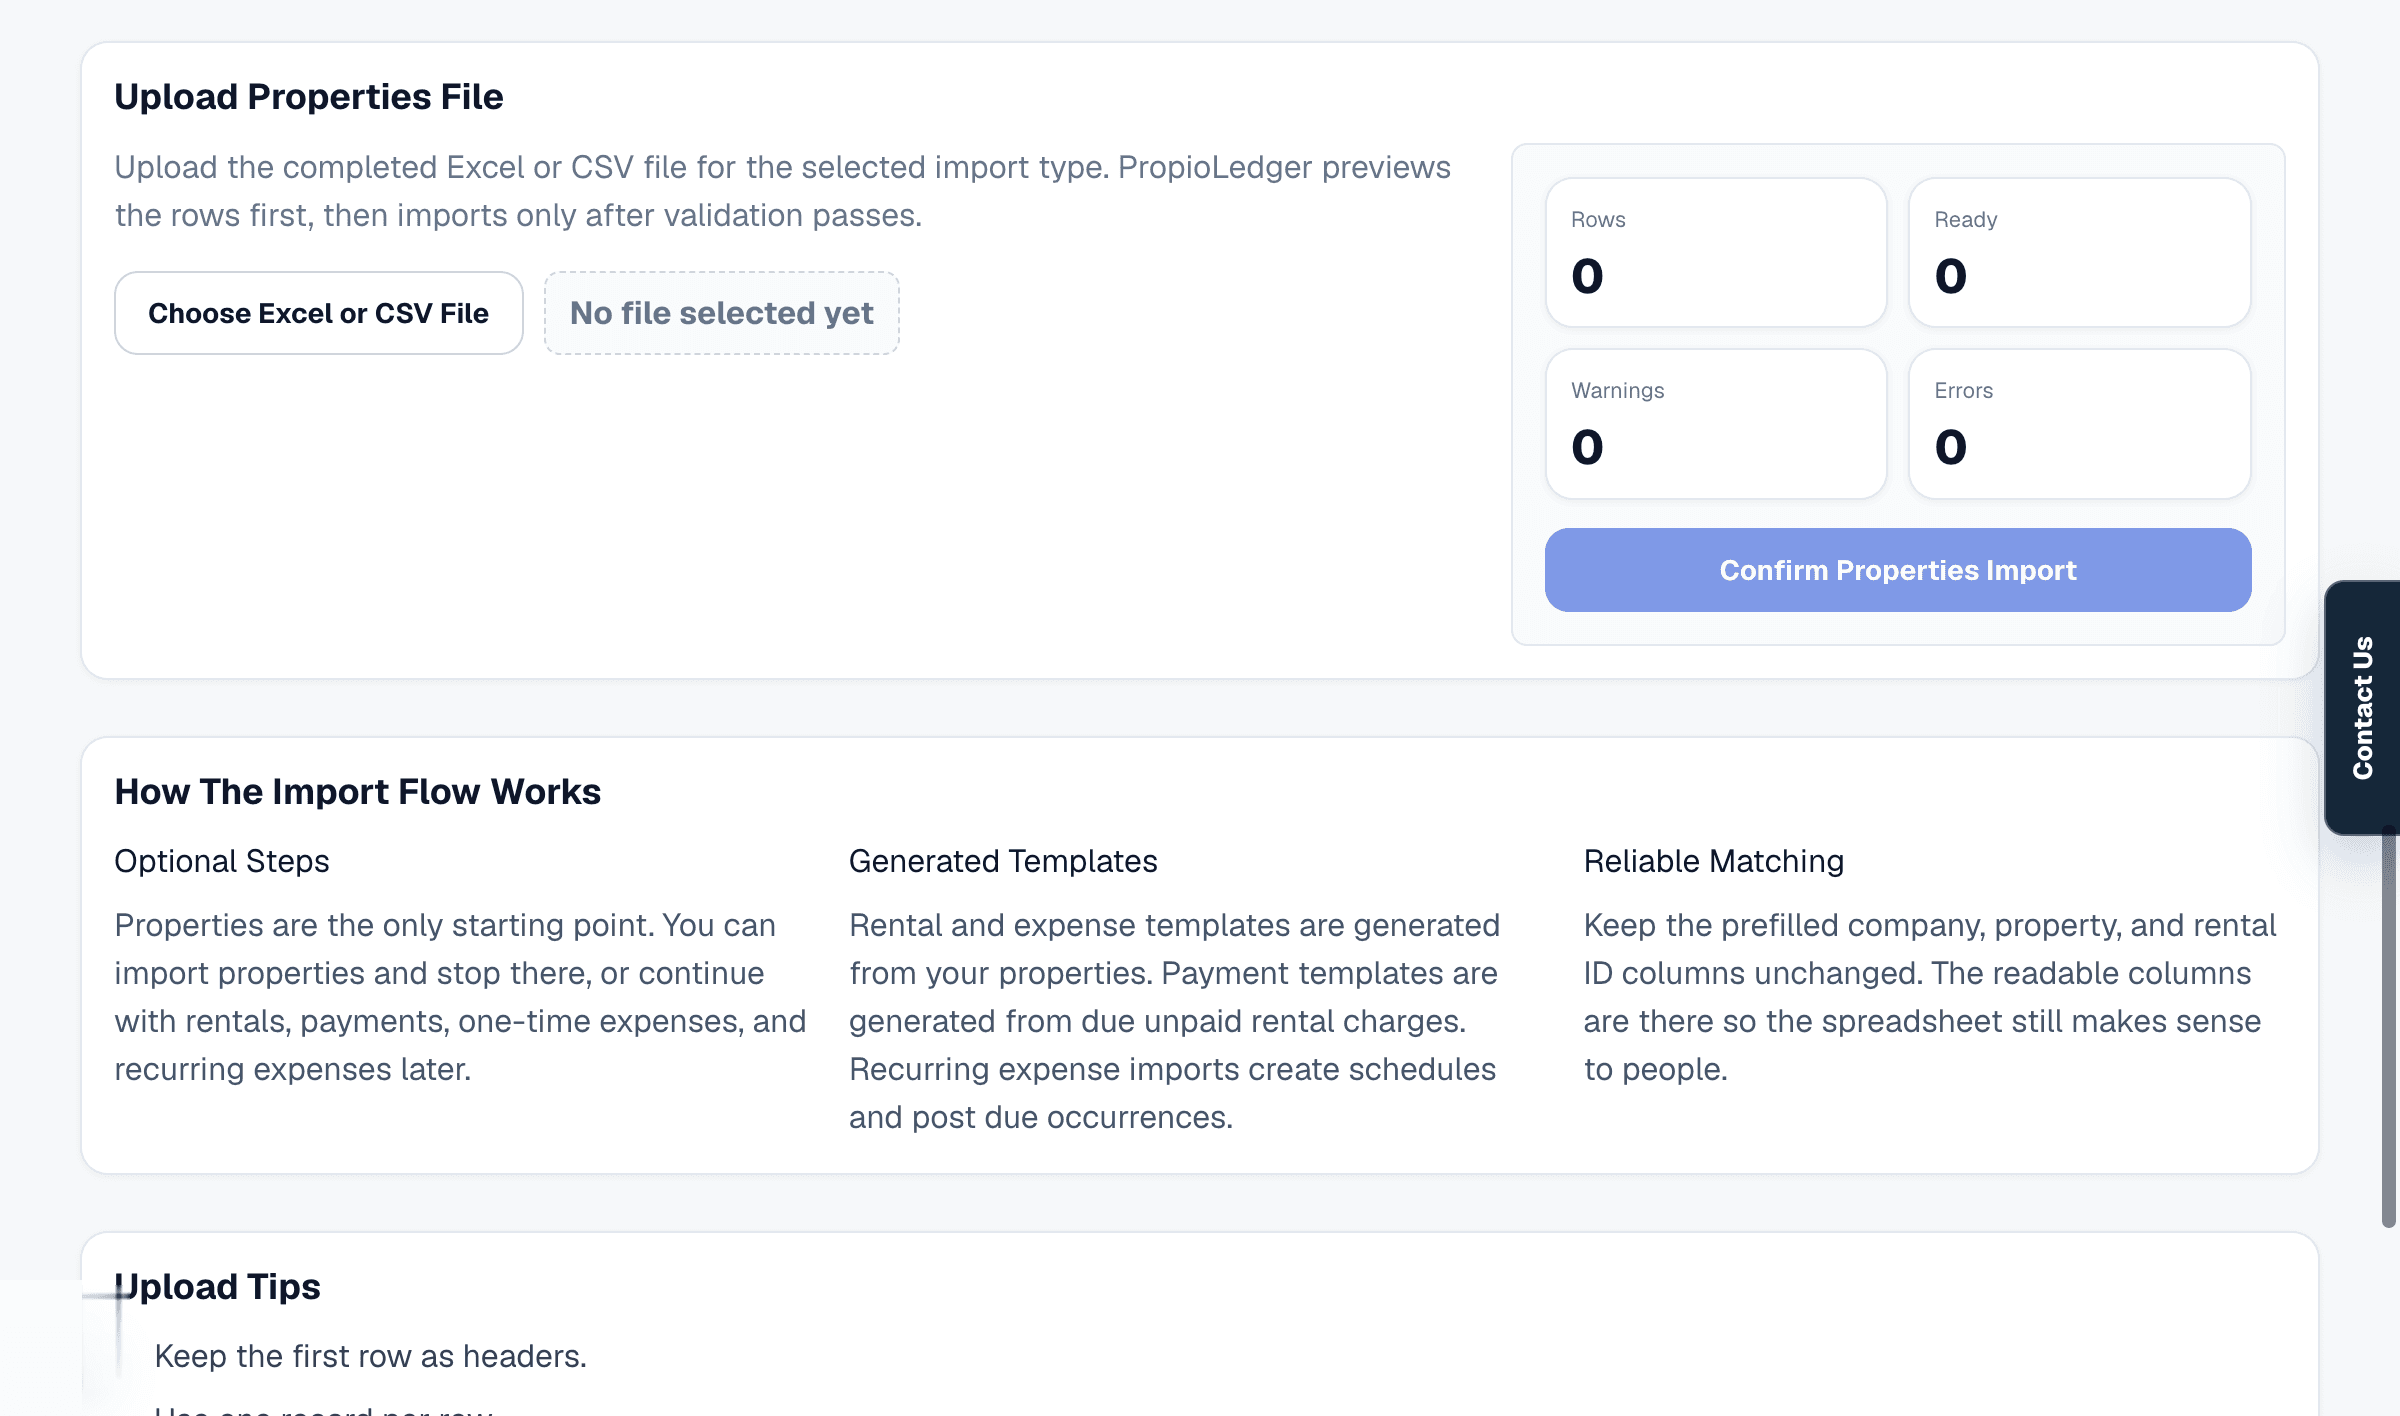
How to use the Import Center to bring in properties, rentals, payments, one-time expenses, and recurring expenses from Excel or CSV files.
Overview
The Import Center helps you onboard existing portfolio data from spreadsheets. It supports properties, rentals, payments, one-time expenses, and recurring expenses.
Imports are optional after properties. You can import only properties and stop, or continue with rentals, payments, expenses, and recurring expense schedules when you are ready.
Recommended Import Order
- Properties.
- Rentals.
- Payments.
- Expenses.
- Recurring expenses.
Why The Order Matters
Properties are the starting point because rentals and expenses need a property to attach to. Payments come after rentals because payment templates are generated from rental ledger charges.
Generated templates include stable system IDs, such as company_id, property_id, and rental_id, plus readable context like portfolio or company name, property address, tenant name, and dates. Keep ID columns unchanged.
Template And Upload Flow
- Choose the import type card.
- Download the Excel template for the selected company and import type.
- Edit the spreadsheet using one record per row.
- Keep the header row and generated ID columns unchanged.
- Upload the completed Excel or CSV file.
- Review the preview counts, warnings, and errors.
- Fix any errors before confirming the import.
- Confirm the import only when the preview is correct.
Preview Behavior
The Import Center previews files before writing records. The preview shows total rows, ready rows, warnings, and errors.
Confirm import is blocked while preview errors remain. Warnings allow import but should still be reviewed carefully.
File Rules
- Excel .xlsx templates are the recommended starting point.
- CSV uploads are also accepted.
- Keep the first row as headers.
- Use one record per row.
- Dates may use YYYY-MM-DD, MM-DD-YYYY, MM/DD/YYYY, or MM/DD/YY where supported.
- Excel templates include dropdown validation for controlled values where possible.
- Preview validation still protects CSV uploads and edited spreadsheet values.
Related Guides
Last Updated
May 2026